Maria Db Deployment
MariaDB: Your Data Guardian

MariaDB serves as a diligent librarian for your data, offering organization, security, and accessibility. As a cousin to MySQL, it shares similarities but stands out with its open-source nature and meticulous handling of structured data using SQL. Acting as a multilingual speaker, it ensures data integrity, scalability, and community-powered improvements. MariaDB is the go-to guardian, whether you're managing a small project or a global enterprise.
Exposed Ports
| Port Type | Port Number | Description |
|---|---|---|
| Tcp | 3306 | MariaDB exposes port 3306 for TCP traffic. |
| http | - | - |
Volume Mounts
MariaDB uses volume mounts to manage data storage and configuration. You can set these when running the container:
| Volume | Description |
|---|---|
/etc/mysql/conf.d | Path to MariaDB configuration files. |
/var/lib/mysql | Path to store MariaDB database files. |
Environment Variables
| Environment value: | Decription |
|---|---|
| - | - |
Installation
| Description | Decription |
|---|---|
| Docker Image | mairadb👈(click me,for the dockerhub image) |
| Application name | Eg: maria1(you can put any name) |
| Resource Allocation | 0-100%(10 % of your allocated resources (CPU, RAM) will be used for this application.) |
Protocol | |
| Http: | |
| Tcp: | 3306 |
| Advanced | Install with Default |
Steps And Procedure
For Detailed steps and procedure please vist this page: Click here
How to connect?
1. Install HeidiSQL:
- If you haven't already, you'll need to download and install HeidiSQL on your computer. Think of it as the key to open the door to your MariaDB database.
2. Launch HeidiSQL:
- Once HeidiSQL is installed, open it up. It's like turning the key in the lock to enter your database world.
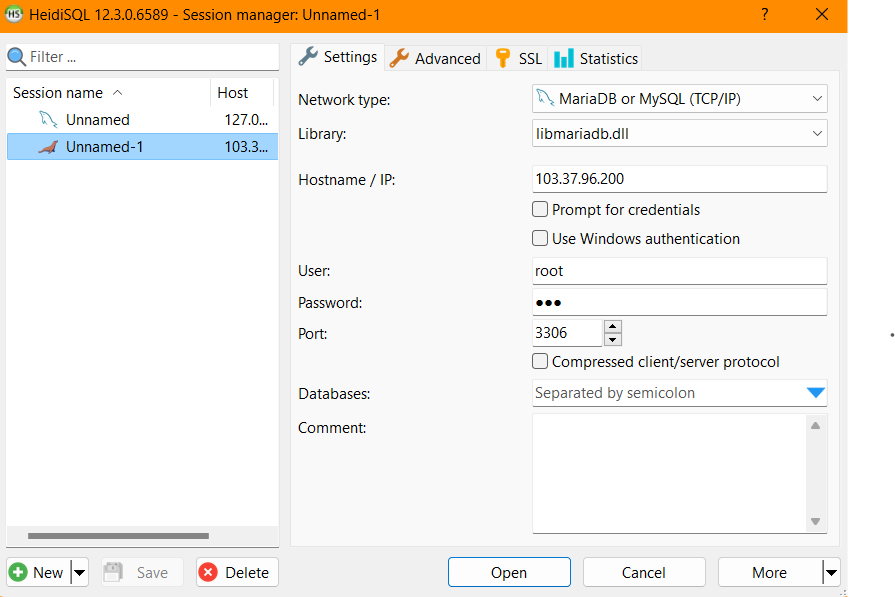
3. Create a New Session:
- In HeidiSQL, you'll need to set up a "session" to connect to your MariaDB database. Think of this as setting up your workspace.
- Click on "File" in the top menu, then select "Session manager."
- In the Session manager, click on the "New" button. It's like reserving a desk in the library.
4. Configure Connection Details:
- In the "Settings" tab of your new session, you'll need to fill in some details:
- Network Type: Choose the appropriate network type. If you're connecting to a MariaDB server on the same computer, you can use "MariaDB or MySQL (TCP/IP)."
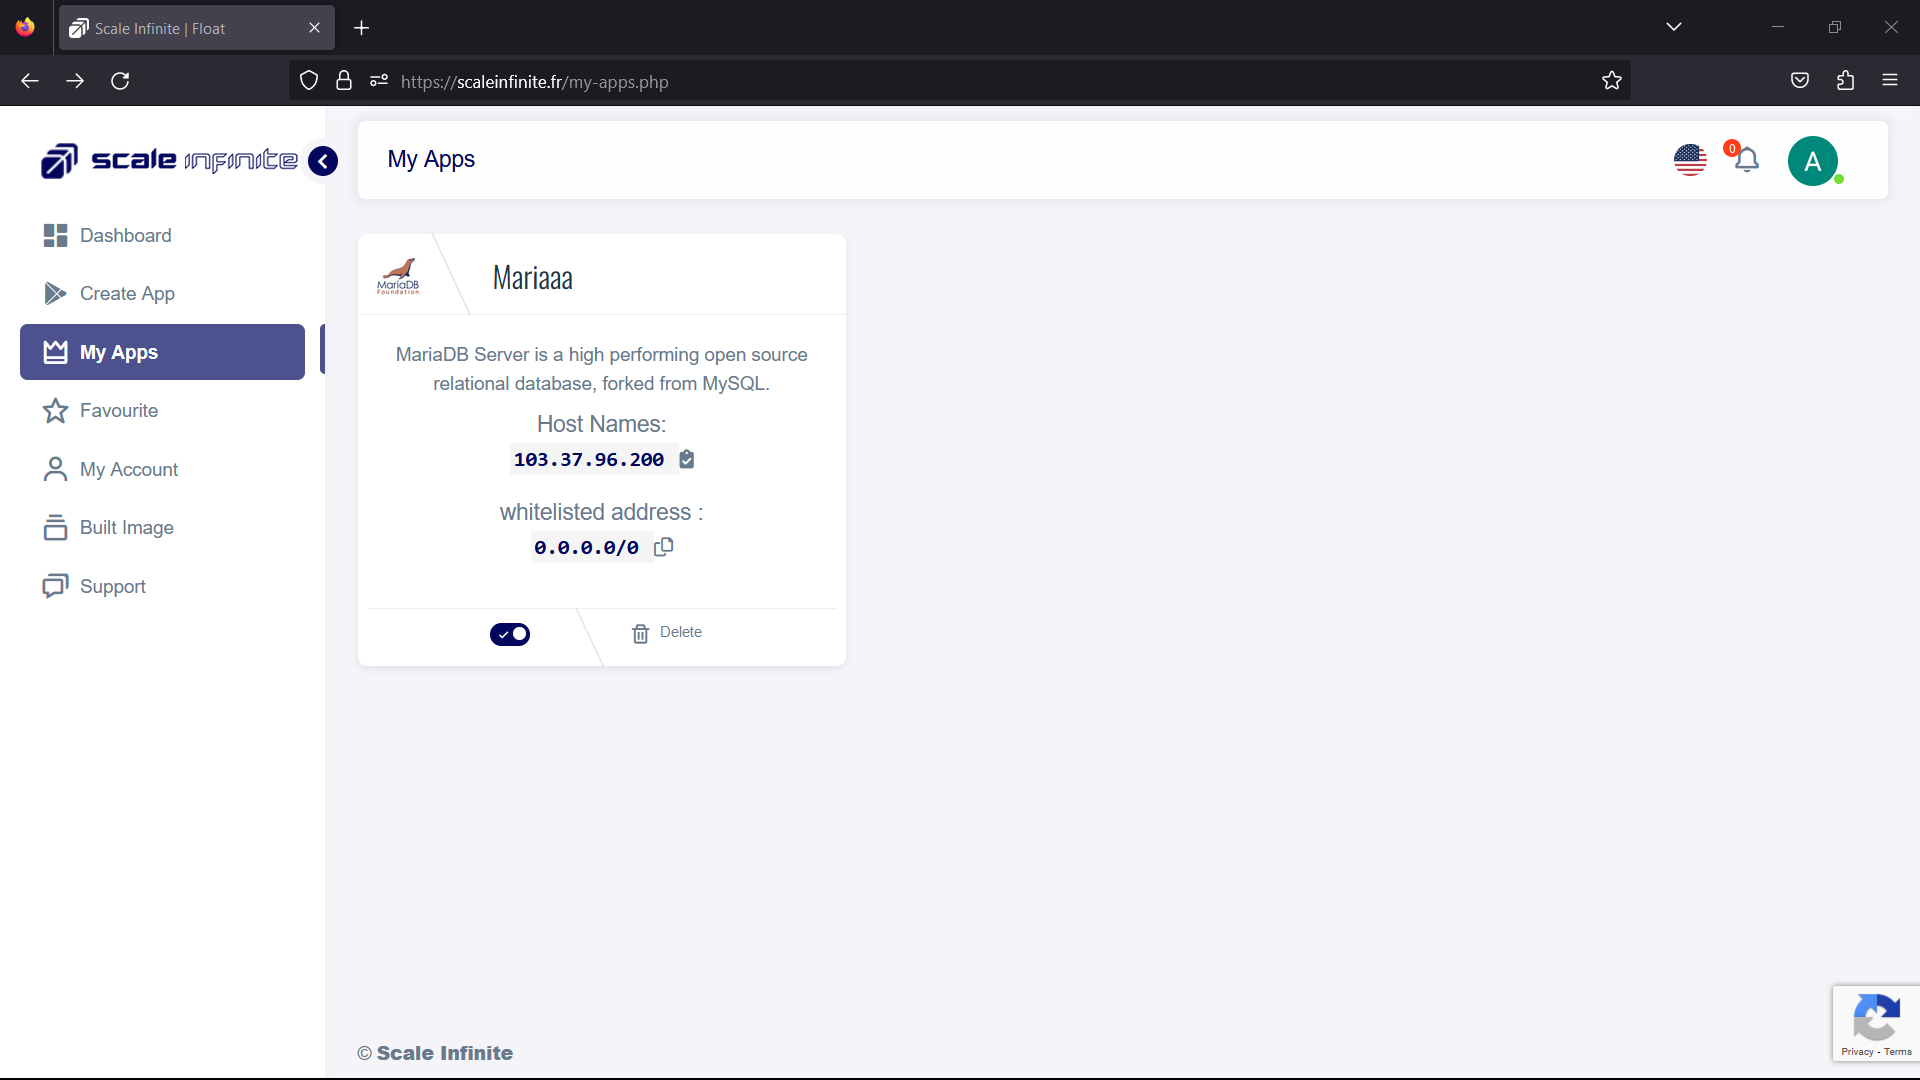
- Hostname/IP: Enter the address of your MariaDB server. It's like putting in the library's address to find it.
- User: Type in your MariaDB username. It's like telling the librarian your name.
- Password: Enter your MariaDB password. Treat it like your library card's PIN.
5. Test the Connection:
- Click on the "Test" button to make sure everything is working smoothly. It's like checking if your library card opens the library door.
6. Save the Session:
- Go back to the "Main" tab of the session manager and give your session a name, like "My MariaDB Connection." This way, you can easily find it next time.
7. Connect:
- Finally, click "Open" to connect to your MariaDB database. It's like turning the key to unlock the library door and walk in.
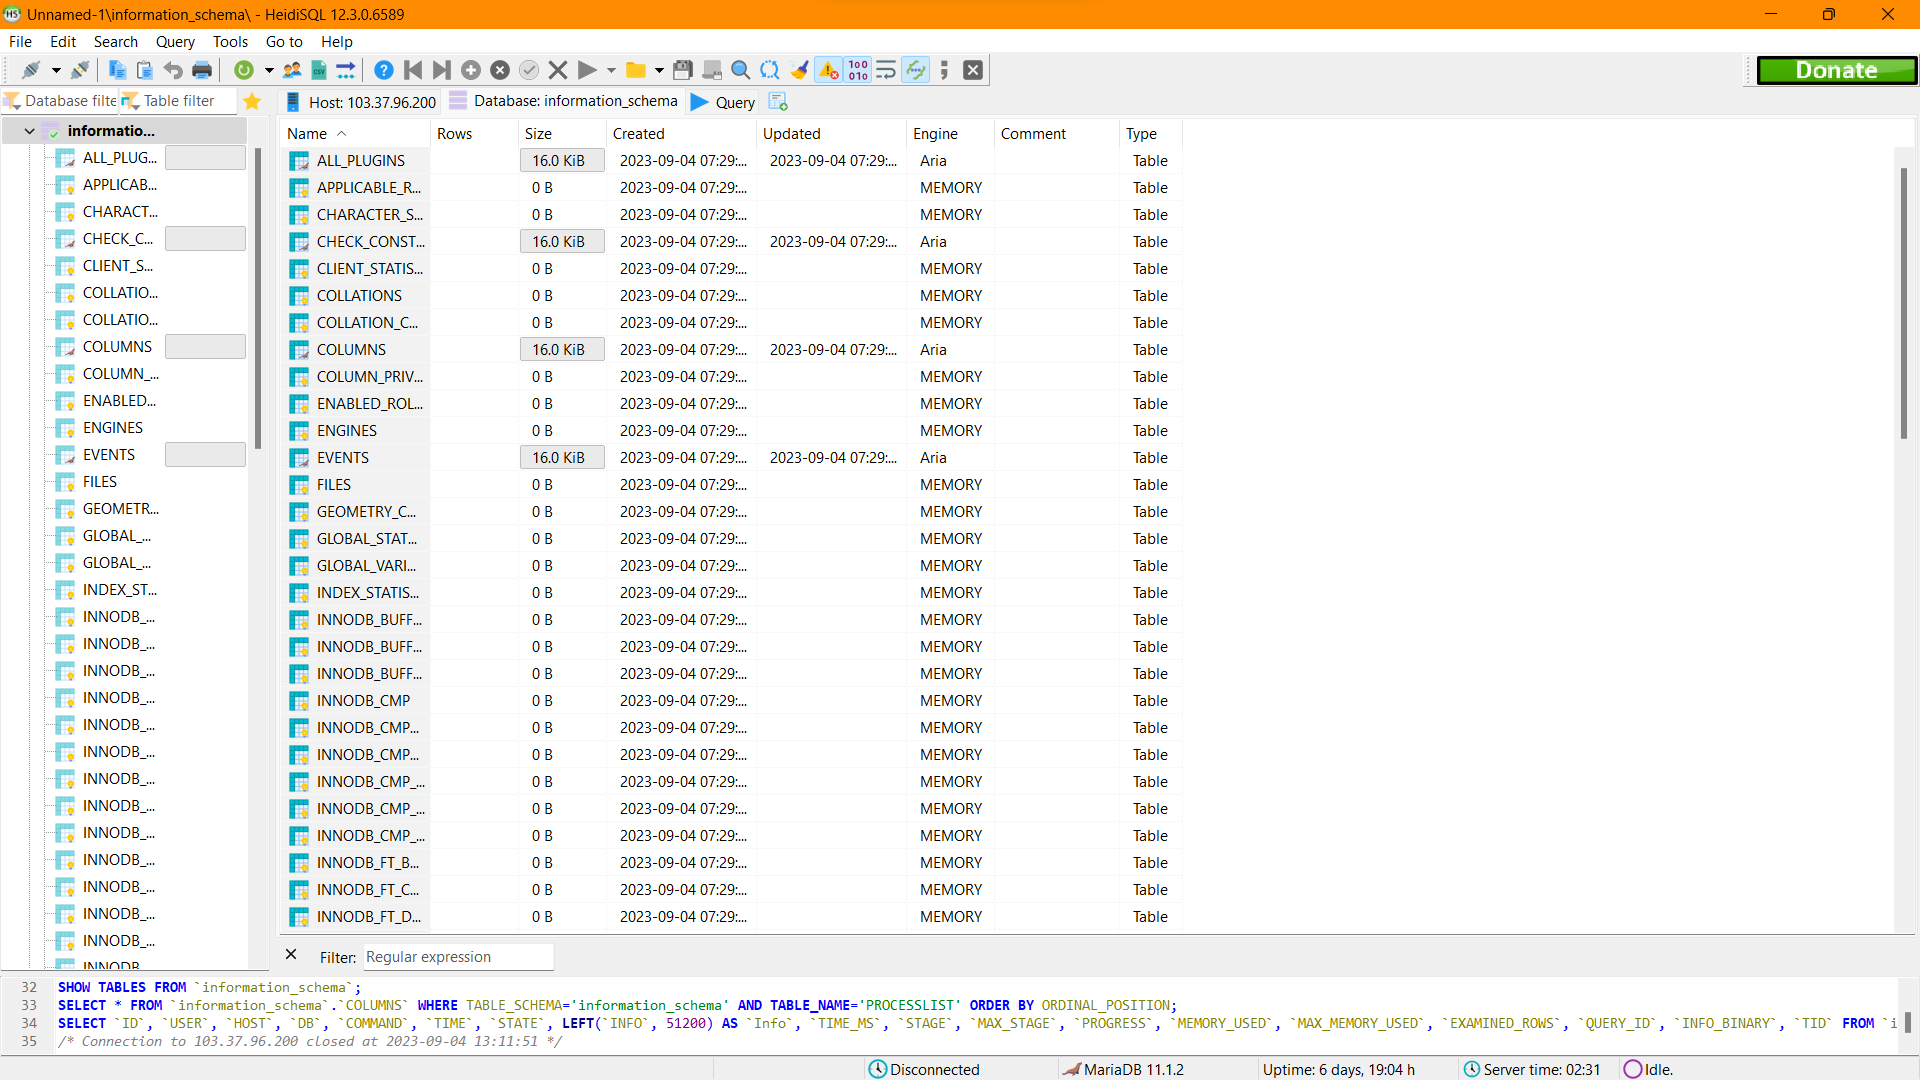
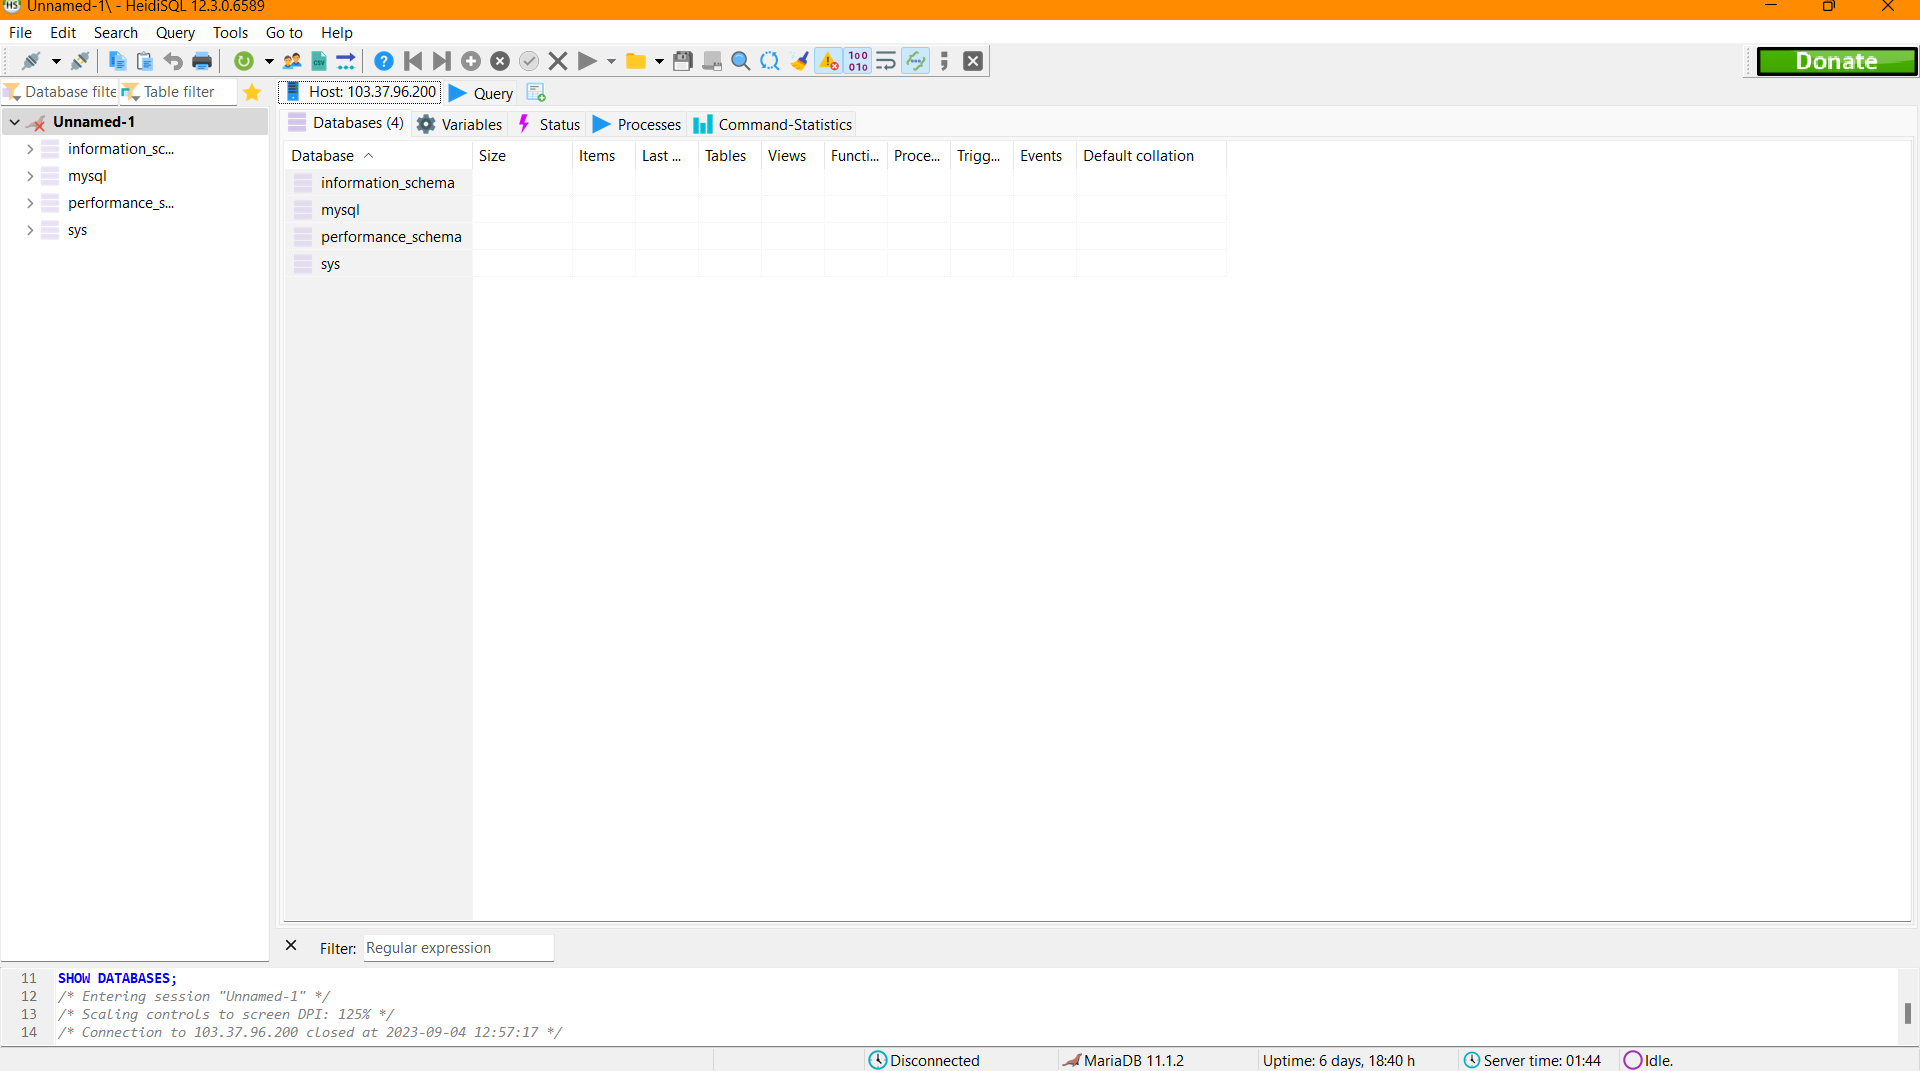
8. Explore Your Database:
- You're in! HeidiSQL will display your MariaDB database structure on the left side, like bookshelves with different sections.
- You can now start running queries, viewing and editing your data, and managing your database, just like a librarian browsing through books.
Remember, HeidiSQL is your friendly librarian in the world of databases. With these steps, you've successfully connected to your MariaDB database, and you're ready to explore and manage your data.
Visual Snapshots


Youtube Tutorial
Check out our youtube video for more clarification.
FAQ
For Detailed FAQ please vist this page: FAQ
Join us
Stay informed and engaged with our project's latest developments and support on Slack. Join us today to connect, collaborate, and keep the momentum going!
Category
Kubernetes, cloud computing, DevOps, cloud services, hosting platform, container orchestration, cloud infrastructure, cloud deployment, cloud management, cloud technology, cloud solutions, database, maria db